Unlock Zesty Flavor: Why So Easy Pickled Banana Peppers Are Your Kitchen's New Best Friend
Imagine a vibrant burst of tangy, slightly sweet, and subtly spicy flavor ready at a moment's notice to elevate your favorite dishes. That's precisely what you get with homemade pickled banana peppers, and here's the best part: they're so easy pickled banana peppers, you'll wonder why you ever bought them from the store. Whether you're a seasoned chef or a kitchen novice, this simple technique opens up a world of culinary possibilities, transforming a common garden pepper into a versatile pantry staple.
For many food lovers, myself included, discovering the magic of fridge pickling was a game-changer. I vividly recall my garden overflowing with banana peppers one summer, leaving me with a beautiful, albeit overwhelming, bounty. Necessity, as they say, is the mother of invention, and that's when I truly embraced the art of making so easy pickled banana peppers. My family quickly fell in love with their zesty kick on everything from humble sandwiches to sizzling burgers, and these little jars of goodness became an instant hit. Forget complicated canning or fancy equipment; this method is designed for simplicity, making it accessible to everyone.
The Irresistible Charm of So Easy Pickled Banana Peppers
What makes these peppers such a beloved addition to any kitchen? It's their unique combination of flavor and incredible versatility. Store-bought versions often lack the crisp texture and nuanced taste of homemade. When you make your own, you control the balance of tangy vinegar, subtle sweetness, and that characteristic mild heat that banana peppers are known for. It’s a symphony of flavors that brightens up even the simplest meal.
These so easy pickled banana peppers are far more than just a sandwich topping. They can be:
- Piled high on burgers, hot dogs, and pulled pork.
- Chopped and mixed into tuna salad, chicken salad, or egg salad for an exciting crunch.
- Added to tacos, burritos, and quesadillas for a tangy counterpoint to rich fillings.
- Stirred into creamy dips or served alongside charcuterie boards.
- Used to brighten up leafy green salads or pasta salads.
- Honestly, sometimes they just disappear straight from the jar – no judgment here!
The beauty of this recipe lies in its straightforward approach. There's no pressure of traditional canning, which often deters beginners. This is all about fresh, vibrant flavor with minimal fuss, ensuring your batch of so easy pickled banana peppers is a success every time.
Why "Fridge Pickling" Makes it So Easy (and Safe!)
The term "fridge pickling," also known as quick pickling, is key to the simplicity of this recipe. Unlike traditional canning, which involves precise temperatures and processing times to create a shelf-stable product, fridge pickling relies on the acidity of the brine and cold refrigeration to preserve the peppers. This method drastically reduces the complexity and equipment needed, making it truly approachable for everyone.
Here’s why fridge pickling is a game-changer:
- No Special Equipment: You don't need a pressure canner, water bath canner, or specialized tools. Just clean jars, a saucepan, and basic kitchen utensils.
- Speed and Convenience: The hands-on time is incredibly short – often just 15-20 minutes. While you'll need to wait a few days for the flavors to meld, the active preparation is minimal.
- Beginner-Friendly: Without the intricacies of canning, there's less room for error. Simply pack your peppers, pour in the brine, cool, and refrigerate.
- Safety First: As long as your pickled peppers are stored continuously in the refrigerator, the high acidity of the brine inhibits bacterial growth, making them perfectly safe to enjoy for several weeks, if not a couple of months.
While traditional canning offers a longer shelf life outside the fridge, for most home cooks looking to enjoy a batch of fresh, zesty peppers, the fridge pickling method for so easy pickled banana peppers is by far the most convenient and stress-free option. You get all the flavor without any of the fuss.
Gathering Your Simple Ingredients for So Easy Pickled Banana Peppers
One of the joys of this recipe is its humble ingredient list. You likely have most of what you need in your pantry already. Quality ingredients, especially your peppers, will make a noticeable difference in the final product.
The Core Essentials:
- Banana Peppers: The star of the show! Look for firm, bright yellow-green peppers without blemishes. Freshness from a local farmers' market or your own garden is always ideal for that crisp texture.
- Vinegar: White distilled vinegar is common for its clean, sharp acidity, but apple cider vinegar can add a slightly fruitier, mellower tang. A 50/50 blend often works beautifully. The vinegar is crucial for both flavor and preservation.
- Water: To dilute the vinegar and create a balanced brine.
- Salt: Pickling salt or kosher salt is recommended. Avoid iodized table salt, which can cloud the brine and affect flavor. Salt helps firm up the peppers and enhances taste.
- Sugar: A touch of granulated sugar balances the vinegar's acidity, bringing out the peppers' natural sweetness and rounding out the flavor profile. Adjust to your preference.
Optional Flavor Boosters:
This is where you can truly make your so easy pickled banana peppers uniquely yours. Experimenting is part of the fun!
- Garlic: Whole cloves, smashed or thinly sliced, infuse a wonderful aromatic depth.
- Dill: Fresh dill sprigs or dill seeds are classic pickling companions, offering a fresh, herbaceous note.
- Mustard Seeds: Yellow or brown mustard seeds add a subtle warmth and traditional pickle flavor.
- Peppercorns: Black or mixed peppercorns contribute a gentle, complex spice.
- Red Pepper Flakes: For those who love a bit more heat, a pinch or two will do the trick.
- Onions: Thinly sliced sweet onions can be pickled alongside the peppers for an extra layer of flavor.
Feel free to mix and match these ideas to create your signature blend. For more inspiring variations and to truly customize your batch, check out our guide on Garden to Jar: Customize Your Easy Fridge Pickled Banana Peppers.
The Step-by-Step Guide to Making So Easy Pickled Banana Peppers
Ready to get started? This process is so straightforward, you'll be enjoying your homemade pickled peppers in no time. Here's how to whip up a batch:
Step 1: Prepare Your Peppers
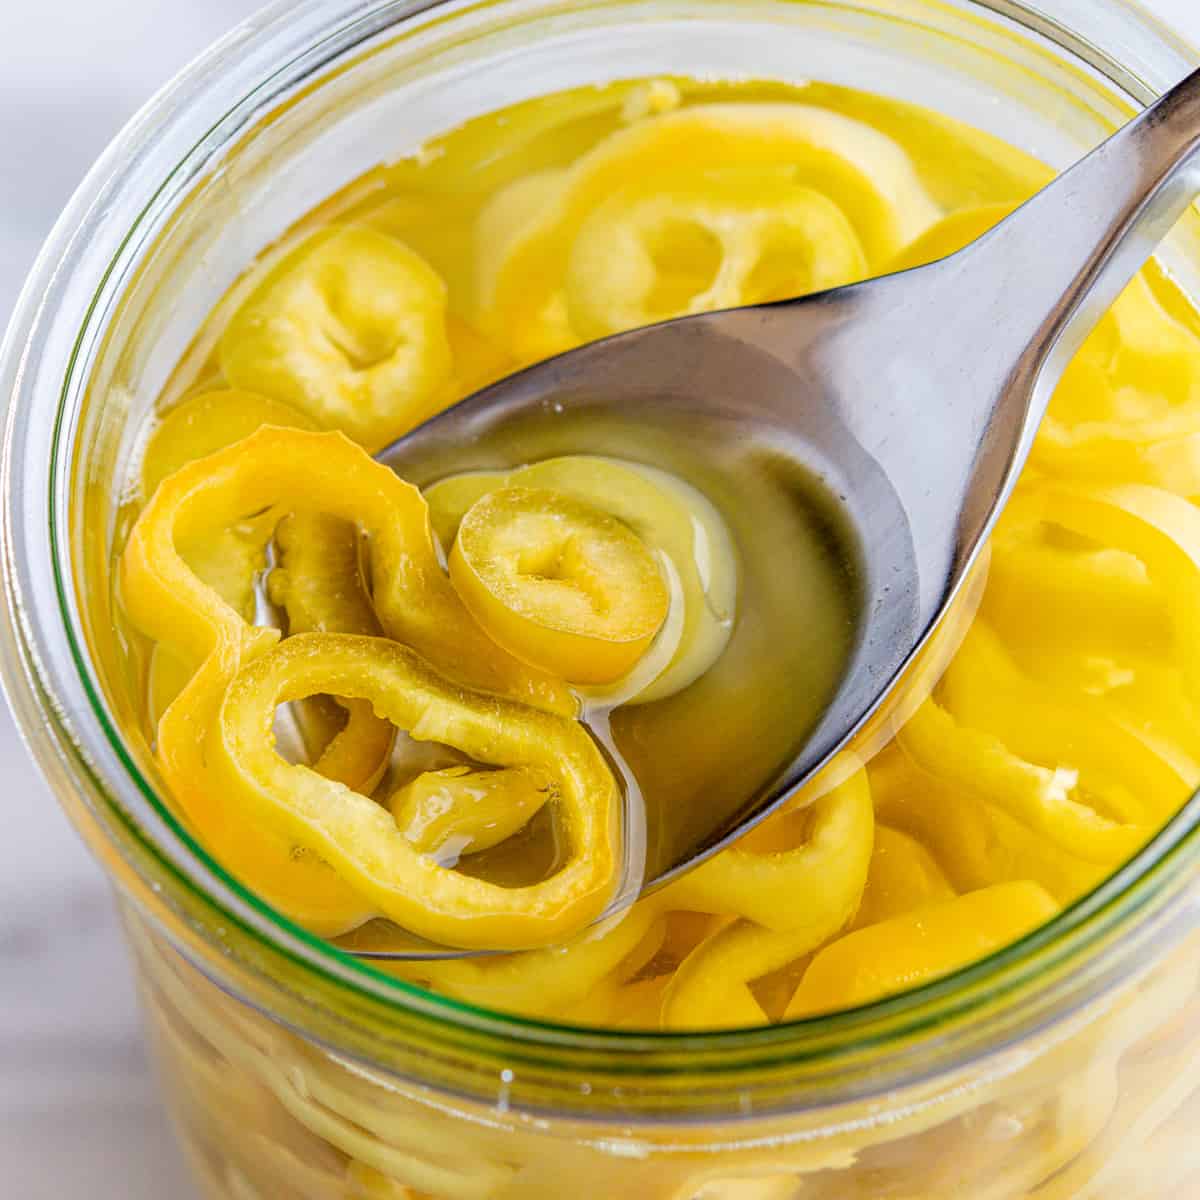
Start by thoroughly washing your banana peppers under cool running water. Pat them dry. For classic pickled rings, slice the peppers crosswise into ¼-inch to ½-inch thick rounds. If you prefer spears, simply cut them lengthwise. Remove any seeds for a milder pickle, or leave some in for a touch more heat. The thickness of your slices can influence texture; thicker slices retain more crunch.
Step 2: Sterilize Your Jars
While full sterilization (as in canning) isn't strictly necessary for fridge pickles, it's good practice to ensure your jars are clean. Wash glass jars and lids thoroughly with hot, soapy water, or run them through a dishwasher. Rinse well and allow them to air dry completely, or place them upside down on a clean towel to drain.
Step 3: Pack the Jars
Neatly pack the sliced banana peppers into your clean jars. Don't be afraid to really cram them in there; they will shrink slightly in the brine. If using optional flavor enhancers like garlic cloves, dill sprigs, or mustard seeds, distribute them evenly among the jars.
Step 4: Prepare the Brine
In a non-reactive saucepan, combine your vinegar, water, salt, and sugar. Bring the mixture to a rolling boil over medium-high heat, stirring occasionally to ensure the salt and sugar fully dissolve. Once boiling, remove the brine from the heat. Pro Tip: Taste your brine at this stage. It should be pleasantly tart, salty, and slightly sweet. Adjust to your preference before pouring.
Step 5: Pour the Brine and Seal
Carefully pour the hot brine over the packed peppers in the jars, ensuring all the peppers are fully submerged. Leave about ½ inch of headspace from the rim of the jar. Tap the jars gently on the counter to release any trapped air bubbles. Place the lids on the jars and tighten them snugly.
Step 6: Cool and Refrigerate
Allow the jars to cool completely to room temperature on your countertop. Once cool, transfer them to the refrigerator. While you can technically eat them after a few hours, the flavors truly develop after at least 24-48 hours. For optimal taste, I recommend waiting at least 3-5 days. Your homemade so easy pickled banana peppers will be perfectly ready to add that zesty kick to anything you desire!
For a more detailed, no-canning recipe and specific measurements, be sure to check out our comprehensive guide: Whip Up Easy Fridge Pickled Banana Peppers: No-Canning Recipe.
Conclusion: Embrace the Zest of Homemade Flavors
There's an undeniable satisfaction that comes from making your own food, and these so easy pickled banana peppers are a perfect example. They're a testament to how simple ingredients, a straightforward process, and a little patience can yield incredibly flavorful results. Say goodbye to bland, store-bought pickles and hello to vibrant, crunchy, tangy goodness that elevates every meal. So go ahead, grab some fresh banana peppers, follow these simple steps, and prepare to add a whole lot of zesty flavor to everything you eat. Your taste buds (and your family) will thank you!
